
There’s a moment in every cyclist’s journey. You’re halfway up a climb, the sun is beating down, your legs are burning, and a deep, primal thirst hits you. You reach down for your water bottle, fumbling blindly for the cage. One hand leaves the handlebar, your balance wavers for a split second, you grasp… nothing but air. You look down, and there it is: your bottle, lying innocently on the roadside, a mocking monument to your thirst.
If this has ever happened to you, welcome to the club. It’s a rite of passage. But what if I told you there was a way to banish this frustration forever? What if your bottle was always exactly where you needed it, secure through the roughest terrain, yet effortlessly accessible with just one hand?
Enter the unsung hero of cycling efficiency: the cycle water bottle with holder.
This isn’t just about a bottle and a cage. It’s a symbiotic relationship, a perfectly engineered system designed for one thing: to keep you hydrated, safe, and focused on the ride. This guide will dive deep into everything you need to know about this essential piece of kit, transforming the way you think about hydration on two wheels.
Why a Dedicated System Beats Any Old Bottle
It’s tempting to think any reusable water bottle and a cheap cage will do the trick. And for a casual spin around the block, maybe it will. But for any serious riding, the dedicated system is non-negotiable. Here’s why:
- Security: A proper cycle water bottle with holder is designed with a specific taper that matches the contours of a bike cage. This creates a snug, click-in fit that holds the bottle firmly, even over cobblestones, gravel, and roots. Your standard cylindrical stainless steel bottle? It’s a projectile waiting to happen.
- Aerodynamics: On a road bike, every watt counts. Cycling bottles are designed to be sleek and fit snugly within the cage, minimizing wind resistance. Some bottle-and-cage systems are even wind-tunnel tested together for optimal performance.
- Function Over Form: cycle water bottle with holders are made from squeezable, flexible plastics (like LDPE or TPU) that allow you to douse your face or get a big drink with one hand, without slowing down. Their nozzles are designed for easy, leak-proof opening with your teeth.
- Weight: They are incredibly lightweight, which matters when you’re carrying two of them up a mountain.
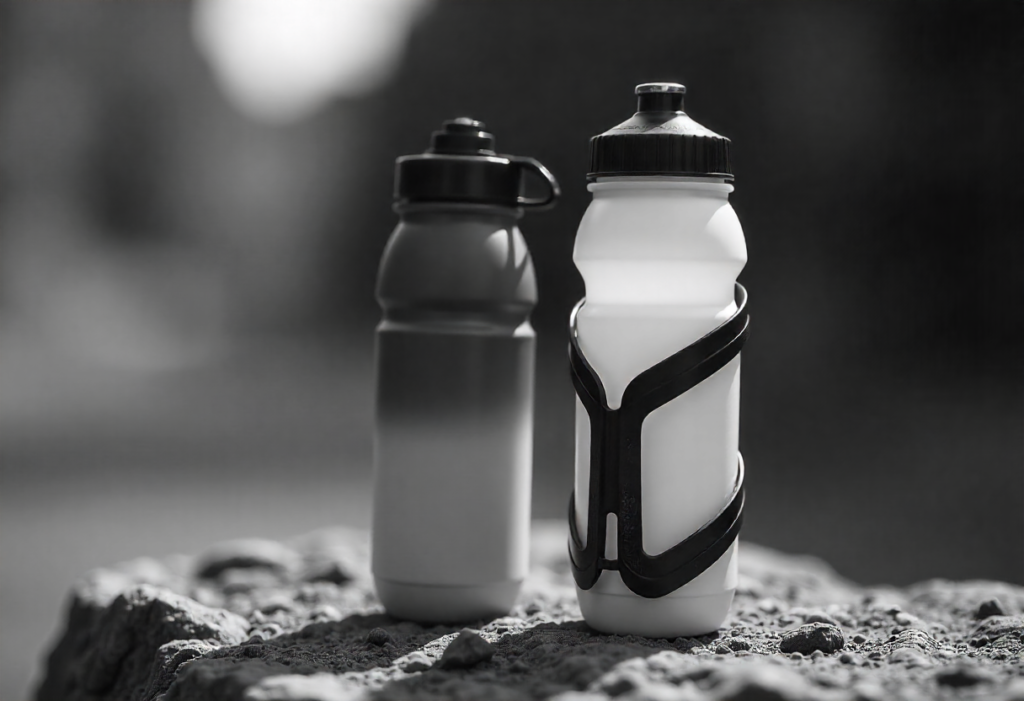
Deconstructing the Duo: The Bottle and The Holder
To understand the magic, let’s break down each component.
Part 1: The Cycle Water Bottle
Not all cycling bottles are created equal. The differences might seem small, but they have a huge impact on your experience.
Material Matters:
- Polyethylene (PE): The classic. It’s flexible, lightweight, and affordable. The downside? It can retain tastes and odors over time, especially if you put anything other than water in it.
- Low-Density Polyethylene (LDPE): A specific type of PE that is very soft and squeezable. It’s the gold standard for most cycle water bottle with holder.
- Thermoplastic Polyurethane (TPU): The premium choice. TPU bottles are more durable, more resistant to odors and stains, and have a nicer, softer feel. They are often used by higher-end brands like Elite and are a worthy upgrade.
- Silicone: Less common for the main body, but often used for nozzles and seals due to its softness and durability.
- Insulated (Double-Wall): These have a vacuum layer between two walls of stainless steel or plastic to keep drinks cold for hours. The trade-off is they are larger, heavier, and less squeezable.
The Nozzle: Your Gateway to Hydration
This is where the real innovation lives.
- Push-Pull: The most common type. You pull the nozzle up to open and push it down to close. Simple, effective, and relatively leak-proof.
- Self-Sealing (Jet Valve): Made famous by Elite. You bite the valve slightly and squeeze, and a jet of water shoots into your mouth. Release, and it seals instantly. Incredibly efficient and minimizes spillage.
- Screw Top: Less common on dedicated cycle water bottle with holder, but offers the most secure seal. It requires two hands to open, making it impractical while moving.
- Straw Top: Emerging in gravel and MTB for easy access without squeezing, great for sipping electrolytes over long distances.
Capacity: How Much Do You Really Need?
- Small (500-600ml): Ideal for shorter rides, time trials, or as a second bottle on your seat tube for easy access.
- Standard (750ml): The workhorse. This is the most common size, offering a great balance of capacity and cage compatibility.
- Large (800ml – 1L): Essential for long, unsupported rides, touring, or riding in extreme heat. Ensure your cage can handle the larger diameter.
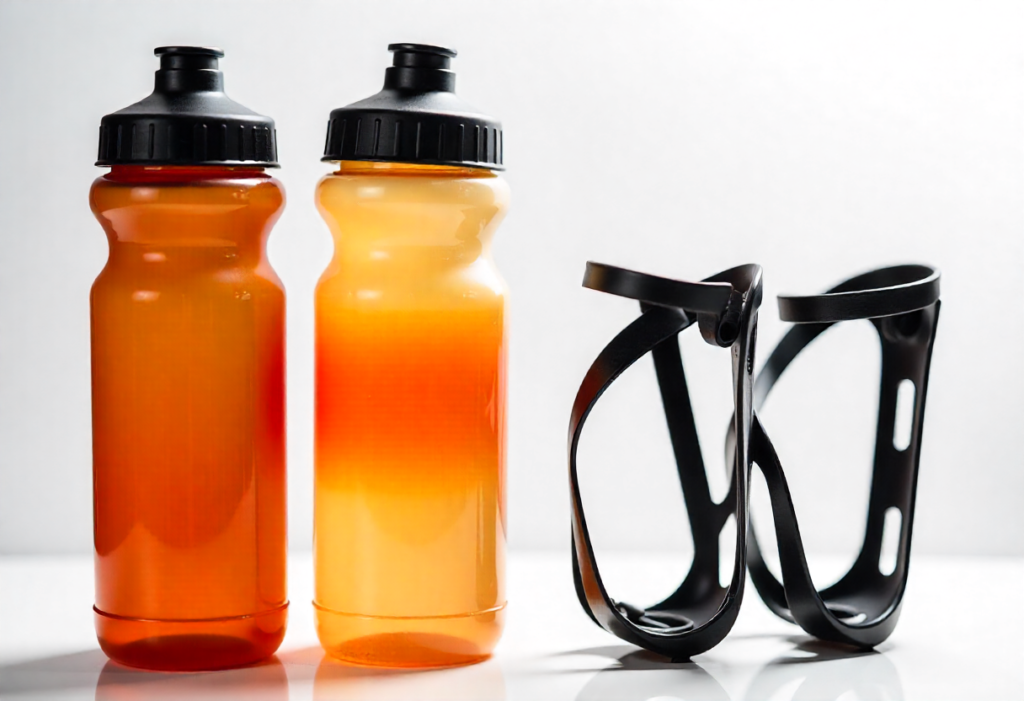
Part 2: The Holder (a.k.a. The Bottle Cage)
The holder is the anchor. Its job is simple: hold on tight, but let go when asked.
Materials and Design:
- Plastic: Inexpensive, lightweight, and corrosion-proof. Modern plastic cages from brands like Zefal or Blackburn can be very strong and secure. A great place to start.
- Aluminum: The classic choice. Offers a great blend of durability, security, and a slight amount of flex to grip the bottle tightly. Can be bent back into shape if damaged.
- Carbon Fiber: The premium option. Extremely lightweight and stiff, offering a very secure hold with minimal weight penalty. It’s all about performance.
- Stainless Steel / Titanium: For the bikepacking and touring crowd. Incredibly durable and resilient, but heavier. They are built to last a lifetime.
Buy on Amazon
Mounting: It’s Not Just for the Downtube Anymore
The traditional spot is on the bike’s downtube and seat tube. But what if your bike doesn’t have mounts? Or you need more capacity?
- Bolt-On: The standard. Uses threaded rivets (bosses) on the bike frame.
- Strap-On / Universal Mount: Uses heavy-duty straps to attach to any tube (frame, seatpost, handlebar, fork leg). A game-changer for bikes without mounts or for adding extra cages.
- Behind-The-Saddle Mounts: Popular in triathlon and time-trialing, these systems hold two bottles horizontally behind the saddle, keeping them aerodynamic.
- Handlebar Mounts: Great for easy access to a phone or a smaller bottle, but can affect handling if too heavy.
- Fork Mounts: Essential for bikepacking, allowing you to carry cargo or water on your fork blades.
The Revolutionary “Click-In” Magnetic and Locking Systems
This is where the concept of a cycle water bottle with holder has been truly redefined. Traditional cages require a specific angle of insertion and removal, which can be tricky under pressure. New systems have solved this elegantly.
Magnetic Systems (e.g., Fidlock):
Fidlock is the leader here. The system has two parts:
- A Twist Base that you bolt onto your bike.
- A Bottle with a magnetic interface.
You simply bring the bottle near the base, and powerful magnets guide it into place with a satisfying click. To remove, you twist the bottle slightly and it releases. It’s intuitive, incredibly secure, and works with one hand effortlessly. It’s perfect for mountain biking where jarring impacts can eject a standard bottle, or for mounting bottles in unusual places like on a full-suspension frame.
Locking Systems (e.g., Elite Custom Race Plus):
These systems use a mechanical latch that audibly “locks” the bottle into the cage. The removal is a specific, deliberate action that prevents any accidental ejections. It offers ultimate security for the most aggressive riding.
Choosing the Perfect Cycle Water Bottle With Holder For Your Discipline
Your riding style should dictate your hydration setup.
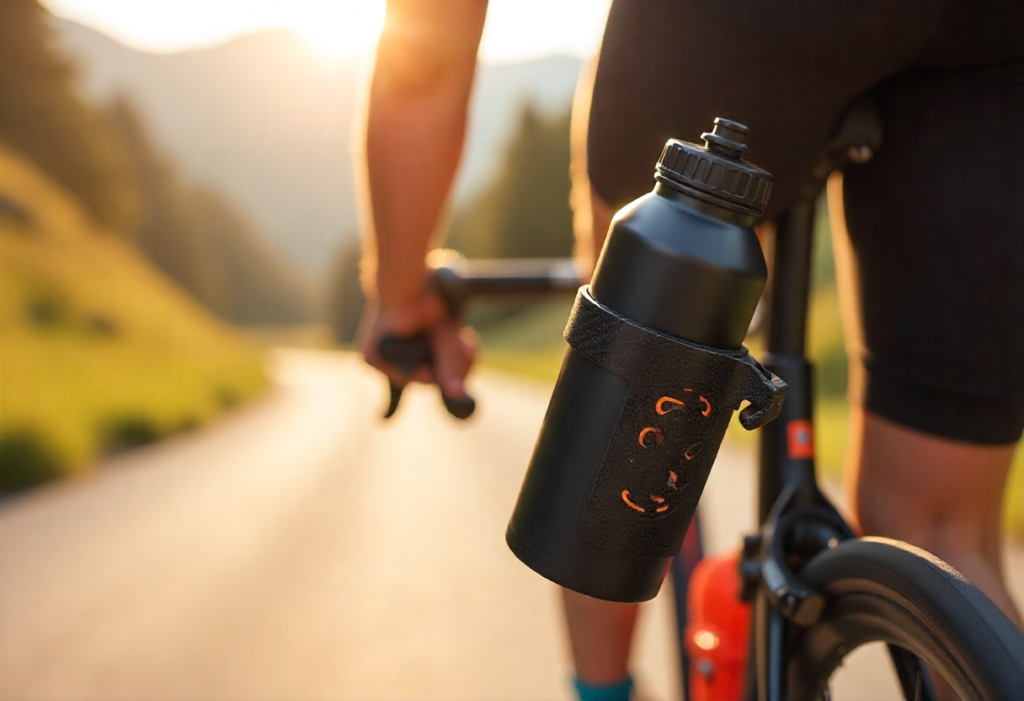
The Road Cyclist:
- Priority: Aerodynamics, weight, easy access while in an aggressive position.
- Ideal Setup: Two standard (750ml) lightweight bottles in matching carbon fiber or lightweight aluminum cages. Consider an aero-shaped bottle for the downtube if you’re chasing watts. A push-pull or jet valve nozzle is perfect.
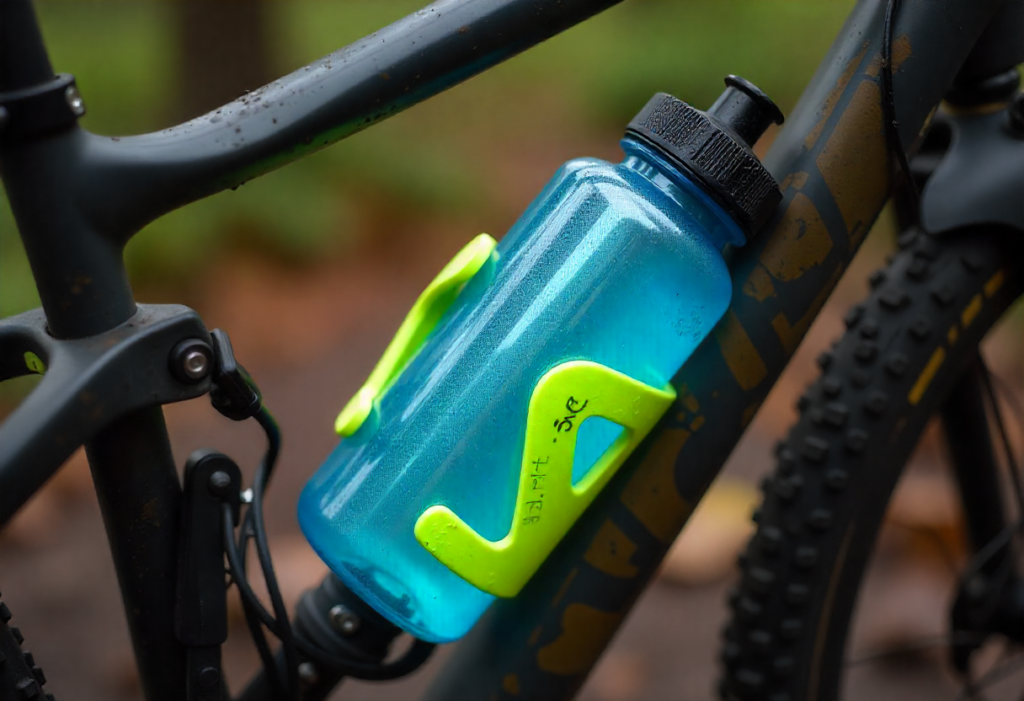
The Mountain Biker:
- Priority: Security, mud clearance, durability.
- Ideal Setup: This is where Fidlock systems shine. If using a cage, a side-loading cage is often better to avoid frame interference. A short, stout bottle (600ml) is often preferable to avoid hitting your legs on technical sections. A jet valve is excellent as it seals itself if you crash.
The Gravel Grinder / Bikepacker:
- Priority: Capacity, versatility, mounting options.
- Ideal Setup: Think beyond the frame. Use a strap-on cage on the fork to carry a large 1L bottle or even a dry bag. A handlebar bag with a hydration bladder hose might be part of the mix. Durable cages (stainless steel, titanium) are key for rough roads. Insulated bottles are great for all-day temperature control.
The Commuter / Urban Rider:
- Priority: Convenience, leak-proofness, maybe insulation for coffee.
- Ideal Setup: A simple, durable plastic cage and a bottle you don’t mind getting scratched. A screw-top insulated bottle is great for keeping coffee hot on the way to work.
Beyond Water: Cleaning and Maintenance
A stinky bottle is a surefire way to ruin a ride. Here’s how to keep your system fresh:
- Rinse Immediately: Don’t let old water, sugar, or electrolytes sit in the bottle. Rinse it with warm water as soon as you get home.
- Deep Clean Weekly: Use a bottle brush and a mild soap (dish soap is fine) to scrub the interior. Pay special attention to the nozzle and any crevices.
- De-funkify: For stubborn smells, a solution of baking soda and water or a diluted vinegar rinse works wonders. You can also use denture cleaning tablets – drop one in with warm water and let it fizz away the germs.
- Air Dry Completely: Always store your bottles with the lid off and turned upside down to allow them to dry thoroughly and prevent mildew.
- Check Your Cage: Periodically check your cage for cracks (plastic) or fatigue (metal). Ensure the bolts are tight so you don’t lose the whole system!
The Sustainability Angle: A Note on Eco-Conscious Hydration
It’s valid to question single-use plastics only to use a plastic cycle water bottle with holder. The key is longevity. A high-quality cycling bottle is designed to be reused hundreds, if not thousands, of times. By using one, you are preventing countless disposable plastic bottles from entering the waste stream.
For the ultimate eco-choice, look for bottles made from more durable materials like TPU (which lasts longer than PE) or consider a stainless steel insulated bottle if your riding style allows for it.
Conclusion: Your Hydration, Perfected
The humble cycle water bottle with holder is a masterpiece of focused design. It’s a system born from the real-world needs of cyclists who demanded a better solution. It’s about more than just carrying water; it’s about security, performance, convenience, and safety.
Investing in a setup that truly works for you – whether it’s a bombproof $10 plastic cage and bottle or a cutting-edge magnetic system – is one of the highest-impact upgrades you can make to your bike. It’s not about the bike you ride; it’s about the ride you have. And a great ride is always fueled by seamless, reliable hydration.
So, find your perfect match, click it in, and never look back at that lonely bottle on the roadside again. The road (or trail) ahead is waiting.