When I first stumbled across the world of tincture bottles, I’ll admit I was a little intrigued but mostly confused. Tiny glass bottles with droppers, mysterious liquids inside—what was the big deal? But as I dug deeper, I realized there’s so much more to these little vessels than meets the eye. Whether you’re a DIY herbalist, a small business owner, or just someone curious about natural remedies, tincture bottles are fascinating, practical, and honestly kind of charming in their simplicity. So, grab a cup of tea (or maybe a tincture?), and let’s explore everything you need to know about tincture bottles—because trust me, there’s a lot to unpack here.
What Are Tincture Bottles, Anyway?
Let’s start with the basics. Tincture bottles are small containers, usually made of glass, designed to hold liquid extracts—most commonly herbal tinctures. If you’re new to this, a tincture is essentially a concentrated liquid made by soaking herbs, roots, or other plant materials in alcohol, vinegar, or glycerin to extract their beneficial properties. Think of it like a super-potent tea, but instead of sipping it, you take a few drops under your tongue or mix it into water.
These bottles typically come with a dropper, which makes them perfect for precise dosing. They’re small—often ranging from 1 ounce (30 ml) to 4 ounces (120 ml)—and they’re built to protect their contents from light and air, which can degrade the potency of the tincture over time. I love how they feel like little apothecary treasures, don’t you? There’s something almost magical about holding one in your hand, knowing it’s packed with nature’s goodness.
Also Read: The Blenko Water Bottle: A Timeless Treasure Worth Sipping From
Why Tincture Bottles Matter
“Why not simply use any ordinary bottle?” you may be asking yourself.” Well, tincture bottles aren’t just cute—they’re functional. The glass (usually amber or cobalt blue) shields the liquid from UV light, which can break down delicate compounds in herbal extracts. Plastic bottles? They might leach chemicals into the tincture or degrade over time, especially with alcohol-based mixtures. And that dropper? It’s not just for show—it ensures you’re not accidentally pouring half the bottle into your mouth (trust me, I’ve learned that lesson with other liquids!).
For anyone making or using tinctures—whether it’s echinacea for immunity, chamomile for relaxation, or something more exotic—these bottles are a game-changer. They’re portable, reusable, and let’s be honest, they look pretty cool lined up on a shelf. I’ve even caught myself admiring how the light catches the amber glass—it’s the little things, right?
The Anatomy of a Tincture Bottle
Okay, let’s break this down. A tincture bottle isn’t just a bottle—it’s a carefully designed system. Here’s what you’ll typically find:
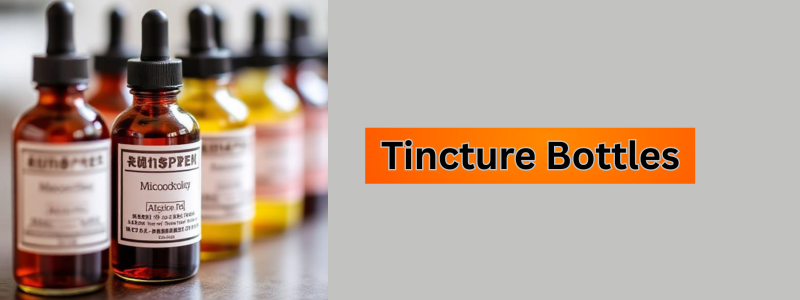
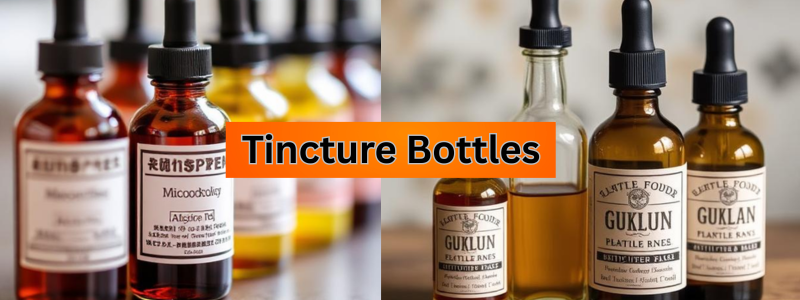
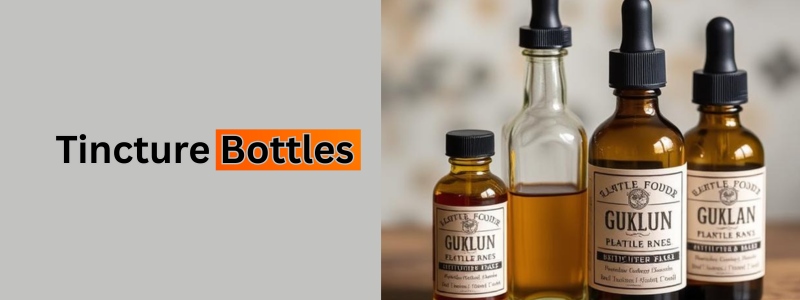
- The Bottle Itself: Most tincture bottles are made of glass, and for good reason. Glass is non-reactive, meaning it won’t mess with the tincture’s chemistry. Amber glass is the gold standard because it filters out light, but you’ll also see cobalt blue, green, or even clear glass for less light-sensitive mixtures. Sizes vary, but 1 oz and 2 oz are the most popular for personal use.
- The Dropper: This is the unsung hero. Usually made of glass or plastic with a rubber bulb, the dropper lets you measure out exact doses—think 10 drops, 20 drops, whatever your recipe calls for. I’ve fumbled with droppers before, and let me tell you, a good one makes all the difference.
- The Cap: Some tincture bottles come with a simple screw-on cap instead of a dropper, especially for storage or travel. It’s less common, but it’s an option if you’re not using the tincture right away.
- Labels: This isn’t part of the bottle itself, but it’s worth mentioning. If you’re making your own tinctures, labeling your bottles is a must—trust me, you don’t want to mix up your lavender sleep tincture with your ginger digestion blend!
Every piece works together to keep the tincture safe, potent, and easy to use. It’s like a tiny ecosystem in a bottle, and I can’t help but appreciate the thought that goes into it.
Types of Tincture Bottles: Which One’s Right for You?
Not all tincture bottles are created equal, and that’s a good thing—it means there’s something for everyone. Here’s a rundown of the main types I’ve come across:
- Amber Glass Bottles: These are the classics. The dark brown color blocks out light, making them ideal for most herbal tinctures. They’re what I reach for when I’m whipping up a batch of elderberry tincture for cold season.
- Cobalt Blue Bottles: These are just as protective as amber, but they’ve got a bit more flair. The deep blue is gorgeous, and they’re perfect if you want your tinctures to double as kitchen decor (guilty!).
- Clear Glass Bottles: Less common for tinctures, but they’re fine for mixtures that aren’t light-sensitive, like glycerin-based tinctures. I’ve used them for short-term storage, but I wouldn’t trust them for the long haul.
- Boston Round Bottles: This is a specific shape—short, stout, with rounded shoulders. They’re super common for tinctures because they’re sturdy and easy to store.
- Square Bottles: A less traditional option, but they’re great for saving space if you’ve got a bunch of tinctures. Plus, they look kind of modern and sleek.
Choosing the right one depends on what you’re storing, how long you’re keeping it, and—let’s be real—how it looks on your shelf. I’ve got a mix of amber and blue bottles, and I love how they add a little personality to my pantry.
How to Use Tincture Bottles Like a Pro
Using tincture bottles might seem straightforward open, drop, done but there’s a bit of an art to it. Here’s what I’ve learned from my own trial and error:
- Shake It Up: Before you use a tincture, give the bottle a gentle shake. Some ingredients can settle, and this ensures you’re getting a consistent dose.
- Measure Carefully: The dropper is your best friend here. Most tinctures come with dosage instructions (like 20 drops twice a day), so follow them closely. I’ve found it helps to count out loud—keeps me from losing track!
- Administer Smartly: You can put the drops under your tongue for fast absorption (it’s a little intense but effective) or mix them into water or juice if the taste is too strong. I’m a water-mixer myself—herbal flavors aren’t always my favorite.
- Store Properly: Keep your tincture bottles in a cool, dark place—like a cupboard or pantry. Heat and light are the enemies of potency, and I’ve learned that the hard way with a sun-baked bottle of valerian.
It’s simple once you get the hang of it, but there’s something satisfying about the ritual. It feels like you’re connecting with an old-school apothecary tradition, doesn’t it?
Making Your Own Tinctures: A Bottle-Filling Adventure
If you’re anything like me, the idea of making your own tinctures is half the appeal of these bottles. It’s easier than you might think, and it’s a fun way to customize your wellness routine. Here’s a quick guide based on my own experiments:
- Pick Your Herbs: Fresh or dried, it’s up to you. I’ve done lavender for sleep, nettle for allergies—you name it.
- Choose Your Solvent: Alcohol (like vodka) is the most common because it extracts well and preserves the tincture. Vinegar or glycerin works too, especially for alcohol-free options.
- Fill the Bottle: Chop your herbs, stuff them into your tincture bottle (about halfway full), and pour in the solvent until it covers the herbs. Seal it up tight.
- Wait It Out: Let it sit for 4-6 weeks, shaking it every few days. Patience is key here—I’ve been tempted to crack mine open early, but waiting pays off.
- Strain and Store: Use a cheesecloth to strain out the herbs, then pour the liquid back into your tincture bottle. Label it, and you’re good to go!
There’s something so rewarding about seeing that little bottle filled with your own creation. It’s like bottling up a piece of nature—and a little bit of your own effort.
Where to Buy Tincture Bottles
Ready to get your hands on some? You’ve got options. I’ve scoured local craft stores, but online is where the real treasure trove is. Sites like Amazon, Etsy, or specialty retailers like Mountain Rose Herbs have everything from bulk amber bottles to fancy cobalt ones with custom droppers. Prices vary—expect to pay $1-$3 per bottle, depending on size and quality. I snagged a pack of 12 amber 1 oz bottles for about $15, and it’s been more than enough to get me started.
Pro tip: Check reviews to make sure the droppers are sturdy—cheap ones can leak, and that’s a mess you don’t want to deal with.
Caring for Your Tincture Bottles
These little guys are reusable, which is one of my favorite things about them. After you’ve used up a tincture, wash the bottle and dropper with warm soapy water. For stubborn residue (alcohol tinctures can get sticky), a soak in vinegar does the trick. Dry them thoroughly, and they’re ready for round two. I’ve got a couple bottles I’ve reused half a dozen times—they’re like old friends now.
Why I Love Tincture Bottles (And You Might Too)
At the end of the day, tincture bottles are more than just containers. They’re a bridge to a slower, more intentional way of living—whether you’re making remedies for yourself or just appreciating the craftsmanship. I love how they combine practicality with a touch of whimsy, and I’ve found myself reaching for them more often than I ever expected. There’s a quiet joy in filling them, using them, and even just looking at them on my shelf.
So, if you’re curious about tincture bottles, give them a try. Start small grab a bottle, mix up a tincture, and see where it takes you. You might just find yourself as hooked as I am. What do you think ready to dive into the world of tincture bottles? Let me know I’d love to hear your story!